Worried your rice will turn out mushy or hard without a rice cooker? Here is how to cook Japanese rice in a pot: rinse it, soak it, measure the water closely, simmer it covered, then let it rest.
This guide is part of the japanese cooking for beginners series, so it starts from the very basics.
| Item | Value |
|---|---|
| Rice-to-water ratio (by volume) | 1:1.1 (or 1.2) |
| Rice cooker cup | 180 ml |
| Water for one rice cooker cup of rice | 200 ml |
| Soaking time | at least 20-30 minutes |
| Simmer, then rest off the heat | 10 minutes each |
| Freezer storage for cooked rice | up to one month |
These figures come from Just One Cookbook and Chef JaCooks. Recipes and measurements can change, so check the source before you rely on them.
What makes Japanese short-grain rice different?
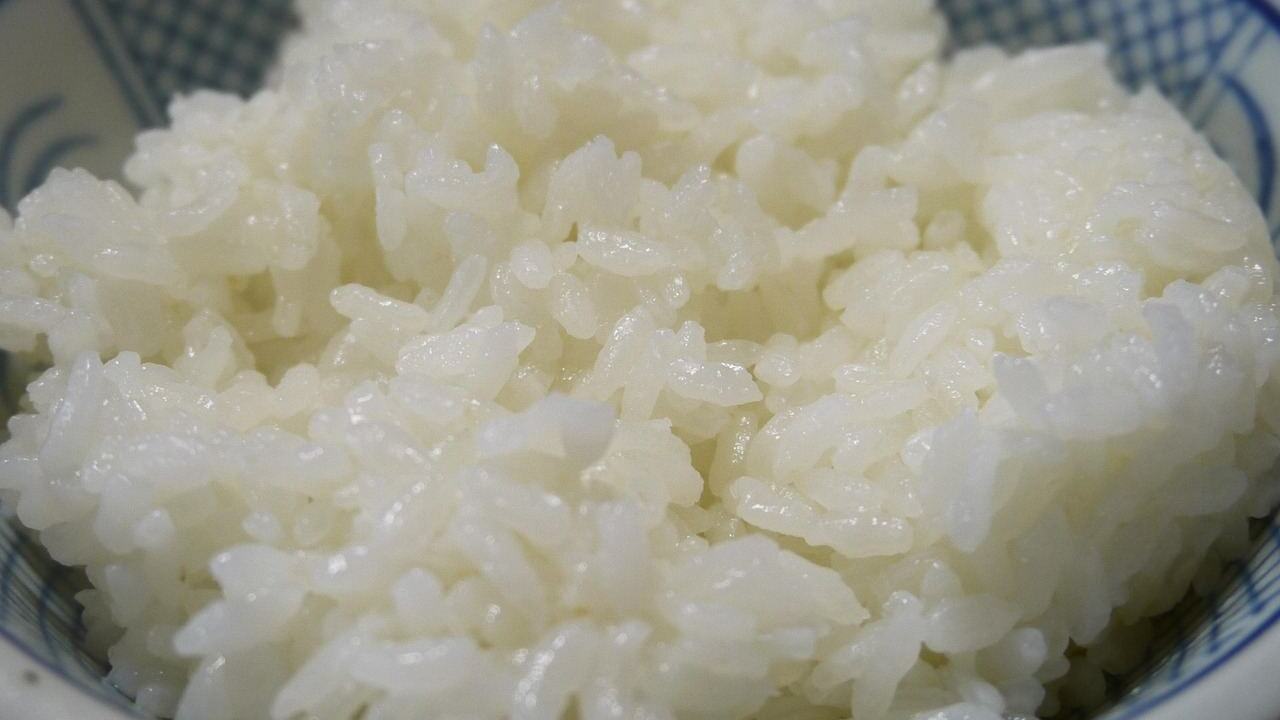
Japanese rice is a short-grain japonica type that is plump and rounded. According to Just One Cookbook, its grains contain less amylose, a starch that separates rice grains, than long grains, which gives a stickier, chewier texture.
Outside Japan it is often sold as “sushi rice”. Chef JaCooks says rice sold under that label is also a great option, and suggests Koshihikari if you are not sure where to start.
Do not swap in long-grain rice for shaped dishes. The University of Illinois home-cooking guide notes that it will not be sticky enough to shape for sushi or onigiri.
Also keep sticky rice and Japanese rice apart in your mind. Just One Cookbook explains that “sticky rice” is technically a different type, known as sweet rice or glutinous rice.
Measuring rice and water
Water is where most stovetop attempts go wrong. In Japan, rice is measured with a rice cooker cup of 180 ml, or about ¾ of an American cup, according to Just One Cookbook. The same page warns that failing to level the cup off may leave the rice without enough water.
If you have lost the cup, the University of Illinois guide suggests a 3/4 cup measure or a scale. It also advises against remeasuring after washing, because rice starts absorbing water as soon as it hits liquid.
Use one of these starting points:
- One rice cooker cup (180 ml) of rice needs 200 ml of water, per Just One Cookbook.
- If you use a scale, Cup of Yum pairs 150 g of rice with 200 ml of water.
- For older rice, harvested and packaged more than a year ago, Chef JaCooks raises the water to 1.3 times the usual amount.
The general rule is a volume ratio of 1:1.1 (or 1.2), which Just One Cookbook translates into 10-20% more water than rice. Tools and Toys gives a similar rule of about 1.1 times as much water as rice.
Water quality plays a small part too. Chef JaCooks notes that hard water can make rice a bit drier after cooking, so soft water is worth using if you can.
Washing and soaking
Washing removes surface dust and bran, and the goal is to be gentle. Just One Cookbook gives these quick key steps:
- Use cold running tap water, never warm or hot water.
- Discard the first rinsing water immediately, before the rice starts absorbing impurities.
- Gently agitate the wet grains in a circular motion with your fingers for 10-15 seconds.
- Rinse and wash one to two more times until the water is almost clear.
The water does not need to be crystal clear. Chef JaCooks says a little cloudiness is fine and that over-washing can take away natural flavor and nutrients.
Then comes the soak. Just One Cookbook recommends at least 20-30 minutes, because the plump kernel needs time to absorb moisture to the core, and skipping it leaves the core hard.
Chef JaCooks suggests 30 minutes to one hour, and up to an hour in colder weather because water is absorbed more slowly.
The stovetop method, step by step
Choose a heavy-bottomed pot with a tight lid. Just One Cookbook explains that even heat distribution keeps the bottom layer from burning, and Chef JaCooks confirms that a regular saucepan also works.
- Rinse the rice, then soak it in water for 30 minutes, as in the Chef JaCooks recipe.
- Drain the rice and add fresh, measured water to the pot.
- Cover and bring to a boil. Do not peek, since Tools and Toys says the lid should never come off while the rice is cooking.
- Simmer for 10 minutes, turn off the heat and rest for 10 minutes, following Chef JaCooks.
- Fluff with a rice paddle, rolling the rice over itself gently so you do not crush the grains.
The rest is not optional. Chef JaCooks points out that the extra surface moisture soaks into the swelling grains during this time, which gives the fluffy texture.
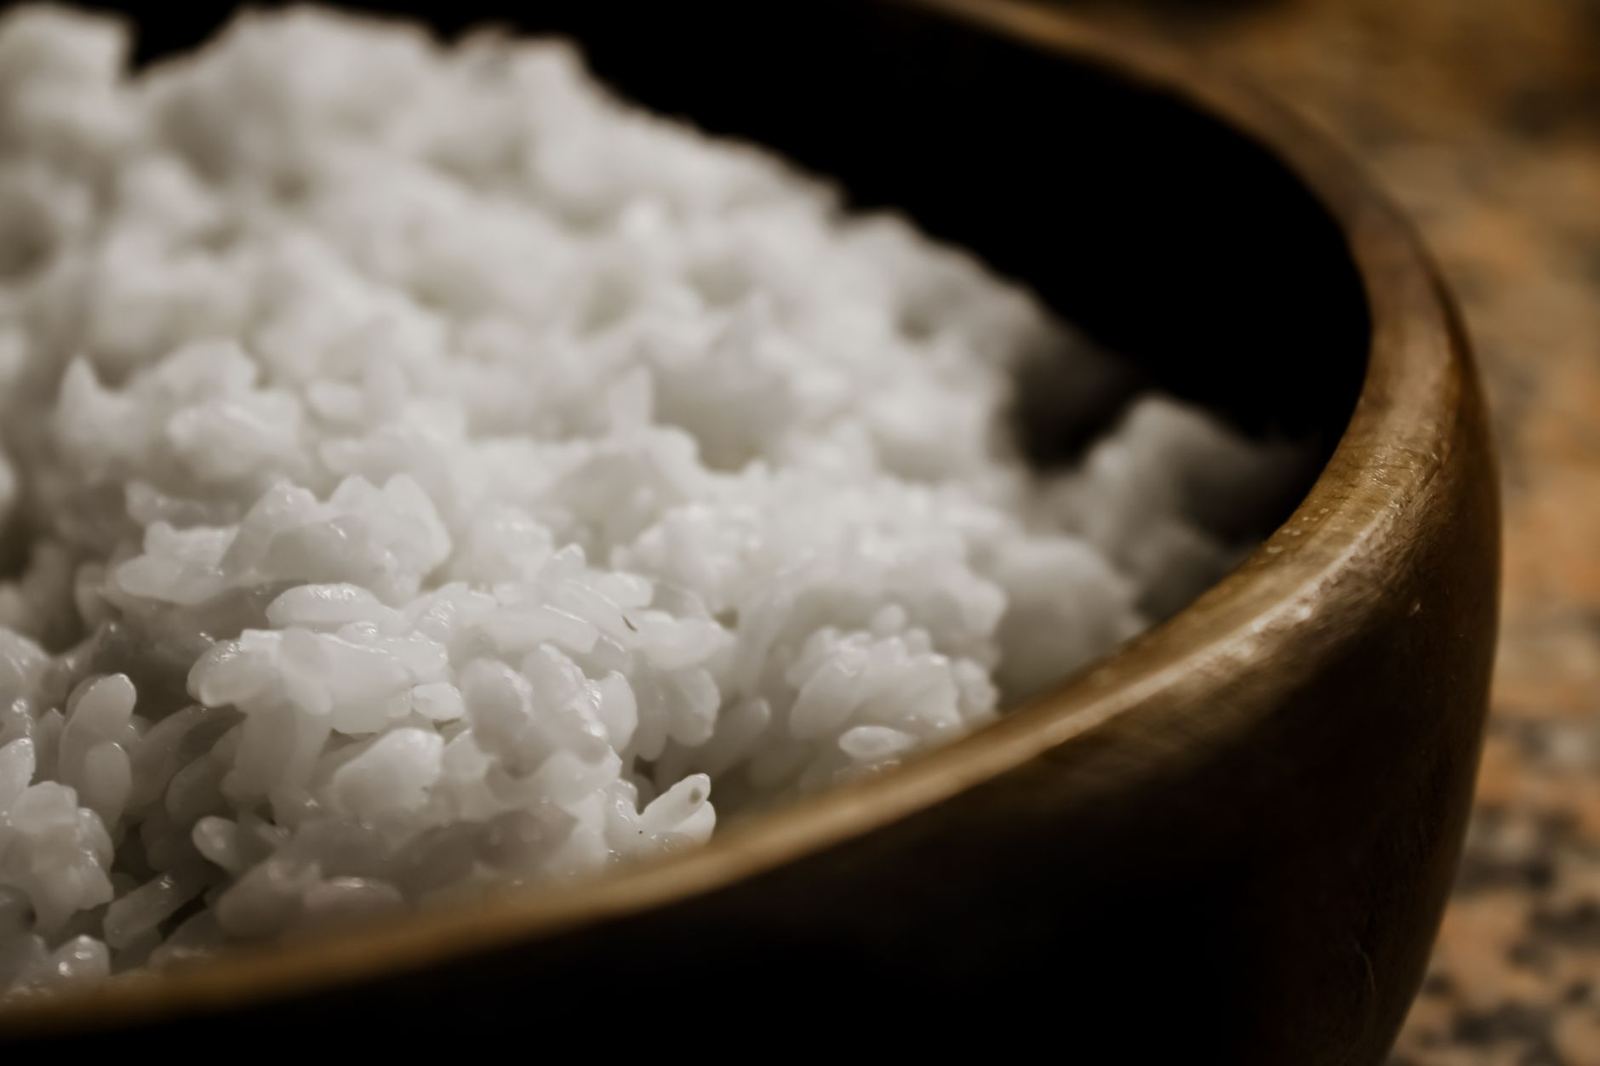
Heat settings differ between recipes. Cup of Yum steps the heat down in stages, so treat your first pot as a test and adjust to your stove.
Fixing hard, wet or dry rice
Most problems trace back to one of a few causes:
- Hard centre: the rice was not soaked, or had too little water. Chopstick Chronicles says too little water gives undercooked, crunchy rice.
- Mushy texture: too much water. The same source says it leads to a mushy, overcooked texture.
- Dry grains: old rice or hard water, covered in the measuring section above.
- Scorched bottom: a thin pot or heat left too high, which is why a heavy-bottomed pot helps.
Surface wetness right after cooking is normal. Leave the lid on and let the rice rest before you judge it.
Storing and serving leftover rice
Wrap single portions in cling wrap right away, even while the rice is hot, and freeze them. Chef JaCooks says they stay fresh for up to one month, and that the fridge is not recommended because it dries rice out.
The University of Illinois guide adds that thawed rice is fine for donburi, ochazuke or a side dish, but too damp for shaping sushi or onigiri.
For serving, Chef JaCooks lists these ideas:
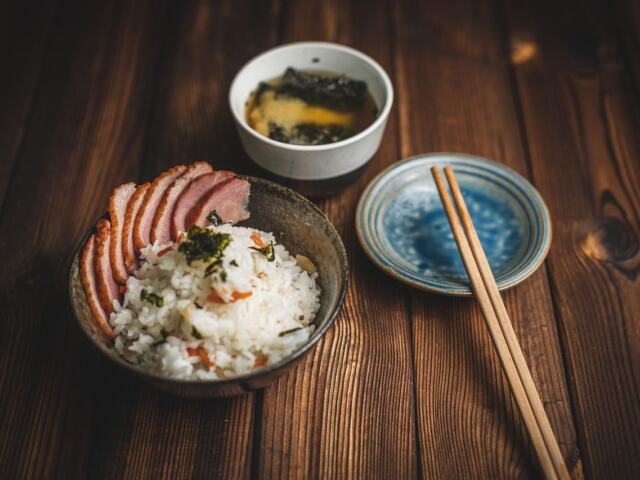
- A Japanese meal set with a main, miso soup and side dishes.
- Natto rice for a quick breakfast.
- Onigiri for a portable snack.
- Chahan, stir-fried rice with eggs.
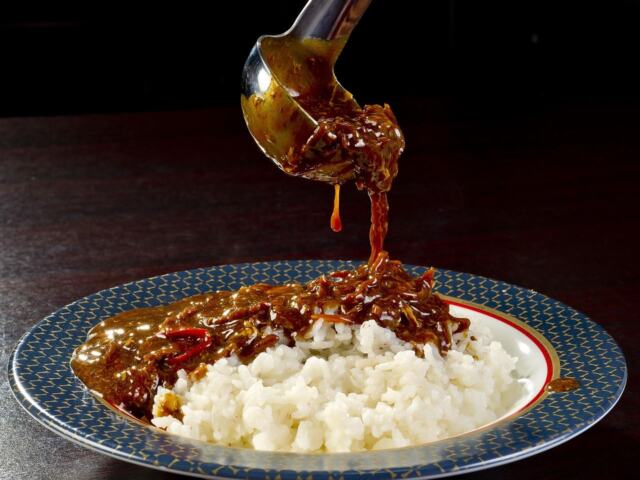
A fresh pot of rice is also the natural partner for japanese curry from scratch. If you are building a full meal with miso soup, learn how to make dashi next.
Frequently asked questions
Do I need a rice cooker to make Japanese rice?
Show answer
No. Chef JaCooks says a regular saucepan works, and a heavy pot with a tight lid gives the best results.
Do I have to rinse the rice?
Show answer
Yes. Chef JaCooks compares it to washing vegetables: you rinse away dirt and bran left from milling.
How long should I soak Japanese rice?
Show answer
Aim for 30 minutes to one hour, according to Chef JaCooks. Go toward the longer end in cold weather.
Can I use sushi rice?
Show answer
Yes. Chef JaCooks says rice labeled sushi rice is a great option for this method.
Can I keep cooked rice in the fridge?
Show answer
It is better not to. The University of Illinois guide says refrigerated rice turns hard and crusty, so freeze portions instead.